 Page
1
2
Page
1
2| Ruff Making 101 | Page
1
2 |
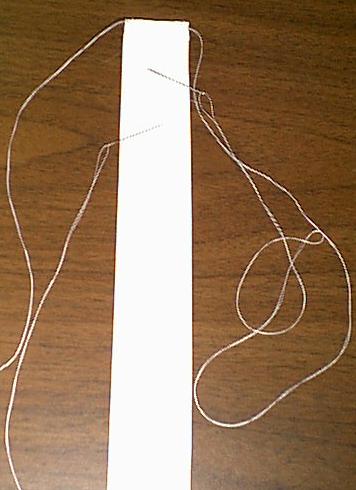
| Step 4: Sewing the material on the
bands
a) Finish the end of the ribbon or lace with a narrow rolled hem b) Thread and knot TWO needles (it is best to double the thread over and knot it) c) Start one on the first mark one side. Then start the second needle on the first mark on the other side. Make sure that the side that has the marks is facing down and the needle is coming out of the clear side d) Set the ribbon on the closest mark on the end of the edge of the band. Again, make sure that the side that has the marks is not facing up. Whip stitch the very edge of ribbon to band using two stitches. Then whip stitch along the band to the next mark. Set the first needle aside out of the way. e) Lay the ribbon across the band to the next mark on the other edge. Be sure to give it a little slack. Whip stitch it to band, then whip stitch along the band to the next mark. f) Lay the ribbon across the band again and stitch it to band. g) Repeat steps "e" and "f" until band is covered with pleats (NOTE) Be sure to give the ribbon some slack so that it can form the nice U- shaped curves on the edges h) When the end is reached, leave one remaining mark.
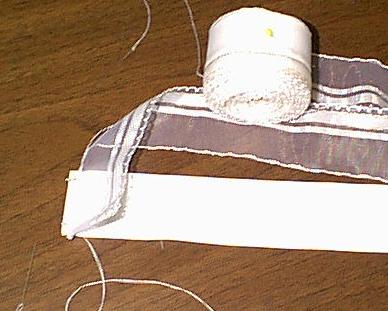
Trim the excess, leaving enough for a narrow rolled hem. Tack the rolled
hem to the last mark
|
End of ribbon
Helpful hints: 1) Make sure that the ribbon is at a 90 degree angle from the band. 2) If the pleats lean to the one side, make sure that
the stitches are not too deep into the ribbon. Pull gently on the pleat
to straighten it.
|
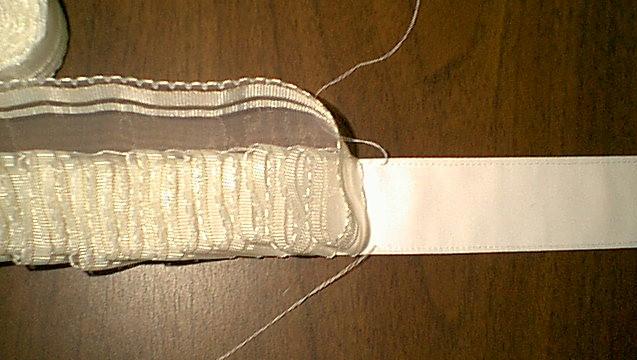
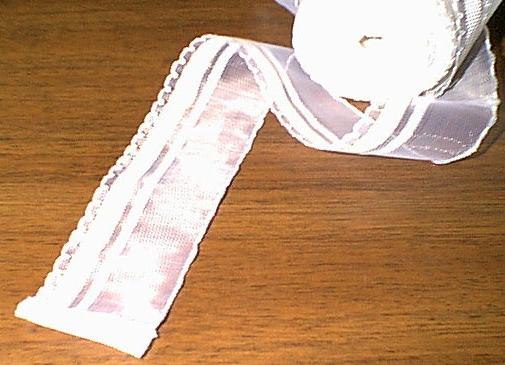
Example of attaching the ribbon to the band |
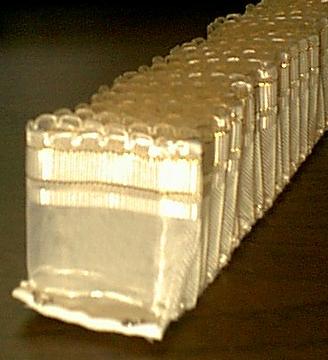
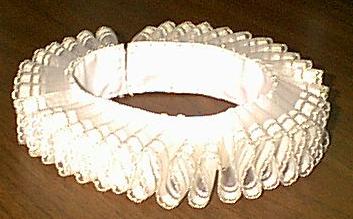
End of ruff |
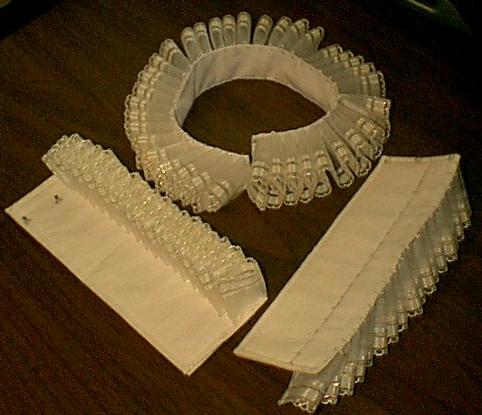
Ruff with cuffs |
Ruffs can be hand washed. Do not wring. Place flat on a towel and make sure the pleats are in the correct position. Curling irons set on low can be used, taking care not to scorch. If stored carefully where the ruff can't be crushed, the need to iron is rare. | 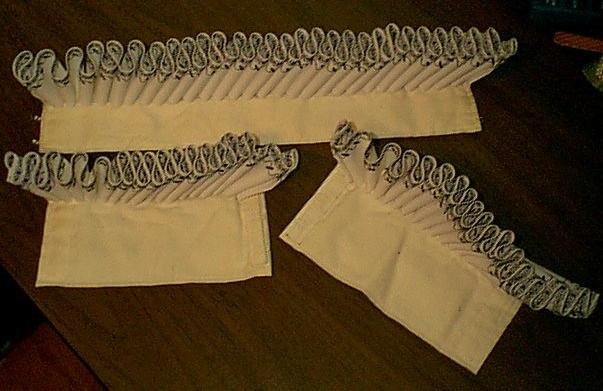
Ruff set (with machine blackwork) to be worn under partlet or doublet |