How to make basic trunk hosen             page   1   2   3  4   5

Example 2
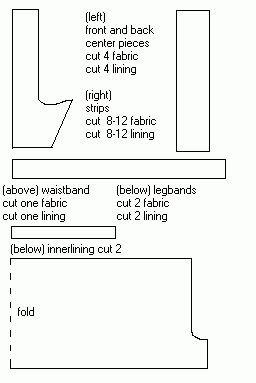
The next step is to determine how many strips you will need. The easiest way to do this is to take the measurement of the waist, subtract the combined center pieces then divide the sum by the width of the strips.
For example:
     The waist is 40 inches.
     The width (top) of the center pieces is 3 inches
     The width for the strips will be 3.5 inches

     38-12= 28   and    28 divided by 3.5 = 8

Therefor 8 strips will be needed (4 on each side) Again remember to allow for seams

The rest of the pattern is fairly easy to cut  Cut the waistband wide (I use 4 inches) and cut the length 3 inches over the waist measurement. The leg bands should be 2 inches more then the thigh measurements and 2 inches wide. The lining is the entire width of fabric that has been folded in half lengthwise. The length should equal the length of the strips. Use the loop curve from the center piece to make the loop  curve on the lining 
 

Assembly

Putting the pieces together is fairly simple
 

Example 3.1

Example 3.2
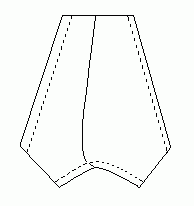
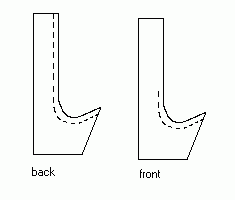
Stitch both the lining and the fabric as seen above. (example 3.1)  Press seams flat. Then stitch the lining and the fabric together along the outside lines (example 3.2) Turn the pieces  right side out and press flat. On the piece that will be in the front. Stitch the lining to the fabric. The result will look like this:
 

Example 4.1 (front)

Example 4.2 (back)
The front opening will later become a fly and be covered by the codpiece

The next step is to assemble the strips

Example 5.1

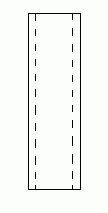
Stitch the lining to the fabric, turn right side out and press flat. This would be the time to add the trim or any other decorations. 
                                                                                                  (continue to page 3)