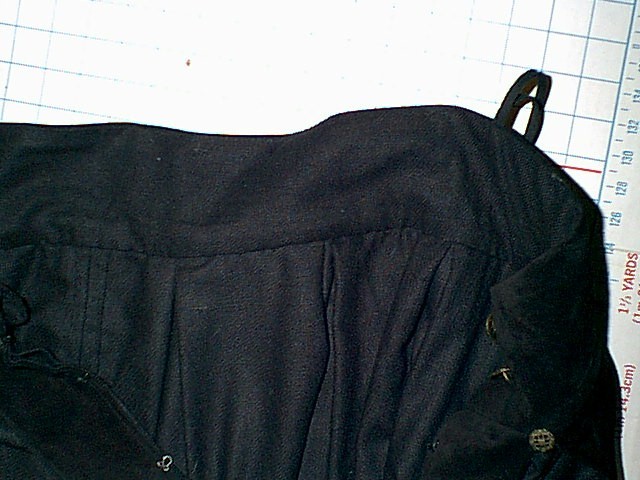
How to make basic trunk hosen             page   1   2   3  4   5

Finishing touches
 

Example 12
 Now we can see the light at the end of the tunnel. 

1.) Stitch down the edges of the waist band. (see example 12) Be sure that one side extends further out then the other.  The should be an overlap in the front so that button holes can be added.

2.) Turn the lining down on the waist band and hand stitch it in place.

3) Turn the lining down on the leg band.

4.) Slide stitch together the bottom of the front and back center pieces. (see example 13)

5) Stitch two button holes on the overlapping edge of the waist band. Sew corresponding buttons. (see example 14)

6) Place hook and eye sets on the front fly. (see examples 14 and 15)


Example 13

Example 14


Example 15

The codpiece
 
 
     The shape and size of the codpiece is a matter of personal opinion.  I have noticed that the codpieces were rather large in the beginning of the 16th century and got smaller towards the end. In fact, I have seen examples that do not have one at all. I have included a basic pattern for rather modest one. Please keep in mind that it may need to be adjusted to preference

1) Cut out pattern (see example 16) Stitch along dotted line of the fabric pieces. Be sure to snip the seams so that the fabric lays correctly.
2.) Pin loops on the corners of the lining. (see example 17) 
 
3.) Stitch the fabric pieces to the lining. Leave the bottom open.

4.) Turn right side out and press edges. Add stuffing if desired. 

5.) Hand stitch close the bottom of the codpiece 

6.) Hand stitch the codpiece to the bottom of the fly in front. (see example 18)

7) Stitch buttons on the top on either side of the fly. (see example 15 and 17)


Example 16


Example 17

Example 18
               (continue to final page)